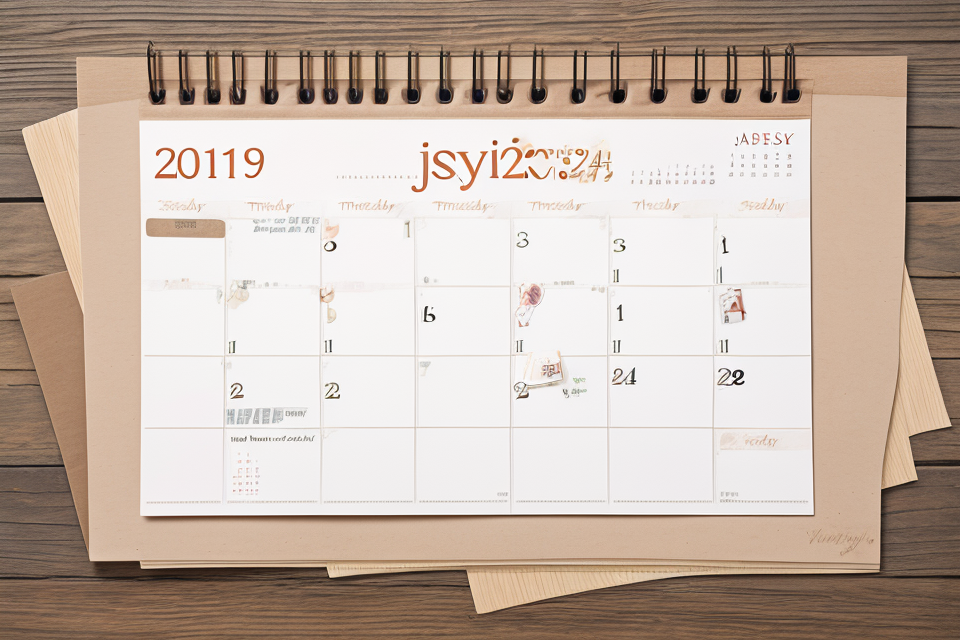
Are you tired of the same old boring calendars? Do you want to add a personal touch to your planner? Look no further! Making your own calendar is a fun and creative way to organize your year. With endless DIY ideas, you can make a calendar that reflects your personality and style. From upcycling old materials to creating unique designs, the possibilities are endless. In this article, we will explore some creative ideas for making your own calendar, so you can start the year off right with a personalized planner.
Materials for Making a Calendar
Paper
When it comes to making your own calendar, paper is one of the most essential materials you will need. Here are some of the different types of paper you can use for your DIY calendar crafts:
Different Colors and Sizes
Having a variety of colors and sizes of paper can add some creativity and flair to your calendar. You can use different colors to represent different months or holidays, or you can use different sizes to create unique shapes and designs.
Graph Paper
Graph paper is a great option for those who want to create a more structured and organized calendar. It provides a grid-like layout that makes it easy to draw and write on, and it’s perfect for those who want to keep track of dates and appointments in a more organized way.
Construction Paper
Construction paper is a thicker and more durable type of paper that is often used for crafts and projects. It’s a great option for those who want to create a more sturdy and long-lasting calendar that can withstand the wear and tear of daily use.
In addition to these types of paper, you may also want to consider using other materials such as scissors, glue, and markers or pens to help bring your DIY calendar crafts to life.
Office supplies
- Scissors: A pair of scissors is essential for cutting paper and other materials. Look for scissors with sharp blades and comfortable handles to make cutting easier and more efficient.
- Glue: Glue is necessary for sticking materials together. Choose a glue that dries quickly and is strong enough to hold the materials in place.
- Tape: Tape is useful for attaching materials that do not require glue. Look for tape that is strong and can be easily removed without leaving residue.
- Markers: Markers are perfect for writing and drawing on materials. Choose markers with different colors and tip sizes to add variety and creativity to your calendar.
- Stickers: Stickers are fun and easy to use. They can be used to add decoration and design to your calendar. Look for stickers that are themed to your preference, such as seasonal stickers or cartoon character stickers.
Craft supplies
Cardstock is a sturdy paper that is ideal for creating calendars. It is thick and durable, making it perfect for handling frequent use throughout the year. Additionally, it is available in a variety of colors, allowing for endless design possibilities.
Ribbon is a versatile craft supply that can be used in a variety of ways when creating a calendar. It can be used to add a pop of color, create a border, or even tie the calendar together as a cover. Ribbon comes in a range of materials, colors, and widths, making it a versatile addition to any DIY calendar project.
Washi tape is a popular craft supply that can be used to add texture and interest to a calendar. It comes in a variety of colors, patterns, and thicknesses, making it a fun and creative way to add accents to a calendar. Washi tape can be used to create borders, add text, or even decorate individual boxes on a calendar grid.
Foam stickers are a fun and playful way to add graphics and images to a calendar. They come in a variety of shapes and sizes, making it easy to create custom designs. Foam stickers can be used to add icons, graphics, or even photos to a calendar, adding a personal touch to the finished project.
Types of DIY Calendars to Make
Wall Calendars
Wall calendars are a popular choice for DIY calendar crafts because they are large and visible, making it easy to keep track of important dates and events. Here are some ideas for creating your own wall calendar:
Large and Small Wall Calendars
You can create a large wall calendar that takes up an entire wall or a smaller one that can be hung in a more discreet location. Both types of wall calendars can be made using a variety of materials, such as paper, cardboard, or wood.
Printed or Hand-Drawn Designs
You can print out templates for your wall calendar or create your own design using hand-drawn images and typography. If you’re feeling creative, you can even combine the two by printing out a template and adding your own hand-drawn elements to make it unique.
Inspirational Quotes or Artwork
To make your wall calendar more personal and meaningful, consider adding inspirational quotes or artwork to each month. This can be a great way to start each month with a positive message or to remind yourself of your goals and aspirations. You can find quotes online or create your own using your favorite books, songs, or poems.
Desk Calendars
- Standing or Hanging Calendars: These are calendar crafts that can be displayed on a wall or placed on a desk. They can be made from a variety of materials such as paper, cardboard, or wood. You can decorate them with paints, stickers, or pictures to make them more personalized.
- Pocket-sized Calendars: These are small calendars that can be carried in a pocket or purse. They can be made from materials such as paper, plastic, or fabric. You can create them in different shapes and sizes, and add pockets or other functional features to keep important items organized.
- Shaped Calendars: These are calendars that are shaped like objects, such as animals or flowers. They can be made from paper, cardboard, or other materials, and can be decorated with paints, stickers, or other embellishments. They are a fun and creative way to display your calendar and add some personality to your space.
Mini Calendars
- Wallet-sized
- Materials: Cardstock paper, ruler, scissors, markers or colored pencils, adhesive
- Instructions: Cut the cardstock paper into wallet-sized rectangles, fold in half to create a booklet, write or draw on the front cover, punch holes on the left side and attach a metal ring or binder clips to keep the pages together
- Pendant or keychain
- Materials: A small wooden or plastic ornament, paint or markers, chain or ribbon, adhesive
- Instructions: Decorate the ornament with paint or markers, attach a chain or ribbon to turn it into a pendant or keychain, write the year or a special message on a small card and attach it to the ornament with adhesive
- Small enough to fit in a purse or bag
- Materials: Fabric or paper scraps, thread or hot glue, needle or glue gun, small buttons or beads
- Instructions: Create a small calendar using fabric or paper scraps, sew or glue the scraps together to form a square or rectangular shape, attach small buttons or beads to represent the dates, thread or hot glue the scraps together, and attach a small loop or chain to hang the calendar in a purse or bag.
Tips for Making a DIY Calendar
Choose a theme or color scheme
When creating your own DIY calendar, choosing a theme or color scheme is an essential step to ensure that your calendar is not only functional but also visually appealing. Here are some tips to help you make this decision:
- Match your calendar to your home or office decor: Your calendar should complement the decor of your home or office. If you have a specific color scheme in your room, try to choose a calendar that matches those colors. This will create a cohesive look and make your calendar feel like it belongs in the space.
- Reflect your personal style or interests: Your calendar should reflect your personal style or interests. If you have a particular hobby or interest, consider creating a calendar around that theme. For example, if you love gardening, you could create a calendar with beautiful garden photos or botanical illustrations. This will make your calendar more meaningful and enjoyable to look at throughout the year.
Overall, choosing a theme or color scheme for your DIY calendar is an important decision that can greatly impact the final product. By considering the decor of your space and reflecting your personal style or interests, you can create a calendar that is both functional and beautiful.
Plan your design
Before starting on your DIY calendar project, it’s important to take some time to plan out your design. This will help ensure that your calendar turns out looking professional and polished. Here are some tips for planning your design:
- Sketch out your ideas before starting: Before you start creating your calendar, take some time to sketch out your ideas. This can help you visualize the layout and balance of elements, and make it easier to make changes as you go along.
- Consider the layout and balance of elements: When planning your design, think about how you want to arrange the different elements on your calendar. You’ll want to balance text and images, and make sure that everything looks visually appealing. Consider using grids or other layout tools to help you achieve a balanced look.
- Choose fonts and typography that complement your design: The fonts and typography you choose can have a big impact on the overall look of your calendar. Consider using a mix of serif and sans-serif fonts, and choose sizes and styles that complement your design. Be sure to use a legible font for important information like dates and holidays.
Use high-quality materials
When creating your own calendar, it’s important to use high-quality materials to ensure that your finished product is durable and long-lasting. Here are some specific tips for using high-quality materials when making your DIY calendar:
- Thick paper or cardstock: To make a calendar that can withstand the wear and tear of daily use, it’s important to use thick paper or cardstock as the base material. This will help prevent tearing and make it easier to write on with markers or pens.
- Good-quality markers or pens: When writing on your calendar, it’s important to use good-quality markers or pens that won’t bleed through the paper or fade over time. Look for markers or pens that are specifically designed for use on paper or cardstock, as these will generally be more durable than standard writing implements.
- Sturdy materials for hanging or standing calendars: If you’re creating a hanging or standing calendar, it’s important to use sturdy materials to ensure that it can stand up to the rigors of daily use. Consider using metal or plastic for hanging components, and make sure that any materials you use are strong enough to support the weight of your calendar.
Personalize your calendar
Adding personal touches to your DIY calendar can make it more meaningful and enjoyable to use throughout the year. Here are some ideas for personalizing your calendar:
- Add photos or drawings: Incorporate photos or drawings that have special significance to you. This could be a photo of your family, a favorite vacation spot, or a drawing that you created. This is a great way to add a personal touch to your calendar and make it more enjoyable to look at every day.
- Write important dates or events: Make sure to write down any important dates or events that you want to remember throughout the year. This could include birthdays, anniversaries, holidays, or any other special events that you want to make sure you don’t forget. This is a great way to keep track of your important dates and make sure you don’t miss anything.
- Include inspiring quotes or affirmations: Incorporate inspiring quotes or affirmations that resonate with you. This could be a quote from a favorite book or movie, or a personal affirmation that helps you stay motivated and focused throughout the year. This is a great way to add some positivity to your calendar and help you stay motivated and inspired throughout the year.
Store and display your calendar
- Consider using a corkboard or bulletin board: These boards are ideal for displaying your DIY calendar, as they are designed for hanging and displaying items. Corkboards are also great for adding additional decorations, such as pictures or notes.
- Display your calendar in a visible location: Choose a location where your DIY calendar can be easily seen, such as in your office, living room, or kitchen. This will help you stay organized and on track throughout the year.
- Store your calendar in a safe place when not in use: To prevent damage to your DIY calendar, it’s important to store it in a safe place when not in use. Consider storing it in a drawer or on a shelf, away from direct sunlight and moisture. This will help ensure that your calendar remains in good condition for years to come.
FAQs
1. What materials do I need to make a calendar?
You can use a variety of materials to make a calendar, such as paper, cardstock, construction paper, or even old cereal boxes. You will also need some basic supplies like scissors, glue, and a pencil. Additionally, you may want to include some decorative items like stickers, markers, or glitter to add some creativity to your calendar.
2. Can I make a calendar on my computer?
Yes, you can definitely make a calendar on your computer using calendar software like Microsoft Excel or Google Calendar. This can be a convenient option if you want to have a digital calendar that you can easily share or print out. However, making a calendar by hand can also be a fun and creative activity.
3. How do I design my calendar?
There are many ways to design your calendar, and you can get as creative as you want with it. One option is to use a template or a pre-made design as a starting point, and then customize it to fit your needs. You can also start from scratch and draw your own design, or use a combination of both. Consider what information you want to include on your calendar, such as holidays, important dates, or personal reminders, and plan your design accordingly.
4. Can I make a calendar that fits my personal style?
Absolutely! One of the best things about making your own calendar is that you can customize it to fit your personal style. Whether you prefer bold and bright colors or more muted tones, there are many ways to make your calendar reflect your personality. Consider using patterns, pictures, or quotes that you love, or choosing a theme that represents your interests or hobbies.
5. How can I make my calendar stand out?
There are many ways to make your calendar stand out and make it unique. You can experiment with different materials, like using fabric or recycled materials for your calendar, or try adding some 3D elements like buttons or beads. You can also get creative with your design, by using interesting fonts or adding personal touches like pictures of your family or pets. Finally, consider displaying your calendar in a creative way, like hanging it on a wall or standing it up on a tabletop.